Software Asset Builder
Topic:
Assets
Building Software Assets
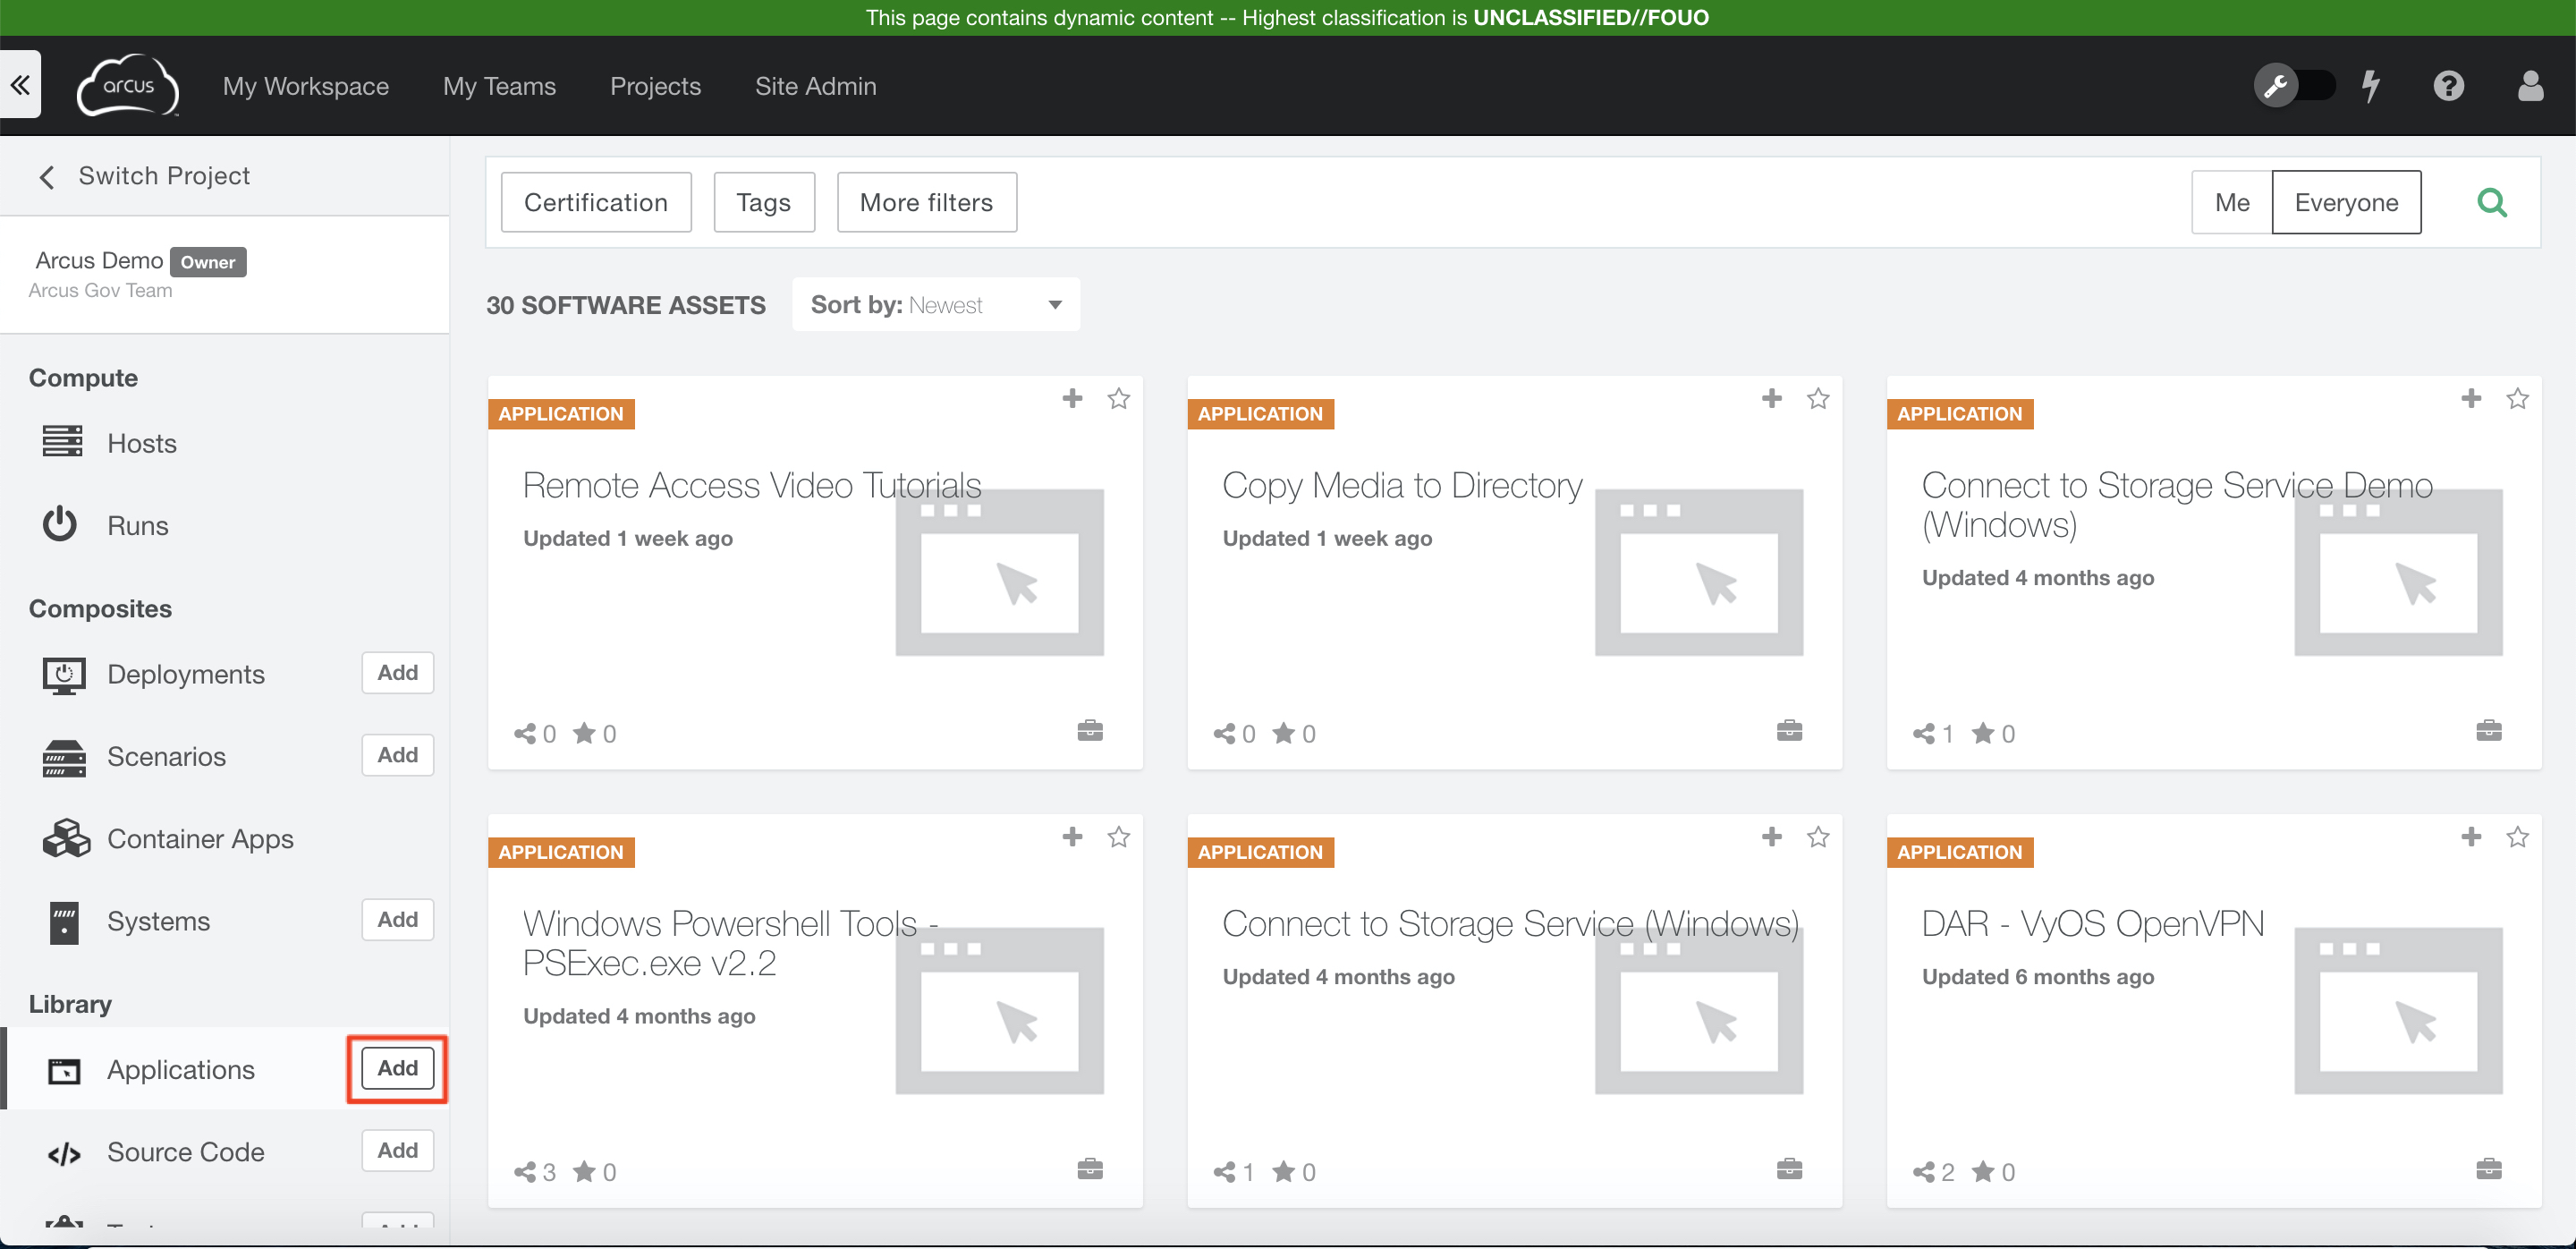
You can create your own software assets using the software asset builder. To get started:
- From the main menu, click on the Add button next to Applications under the Library header
Note: if you do not see the Add button, you may need permissions added in your project
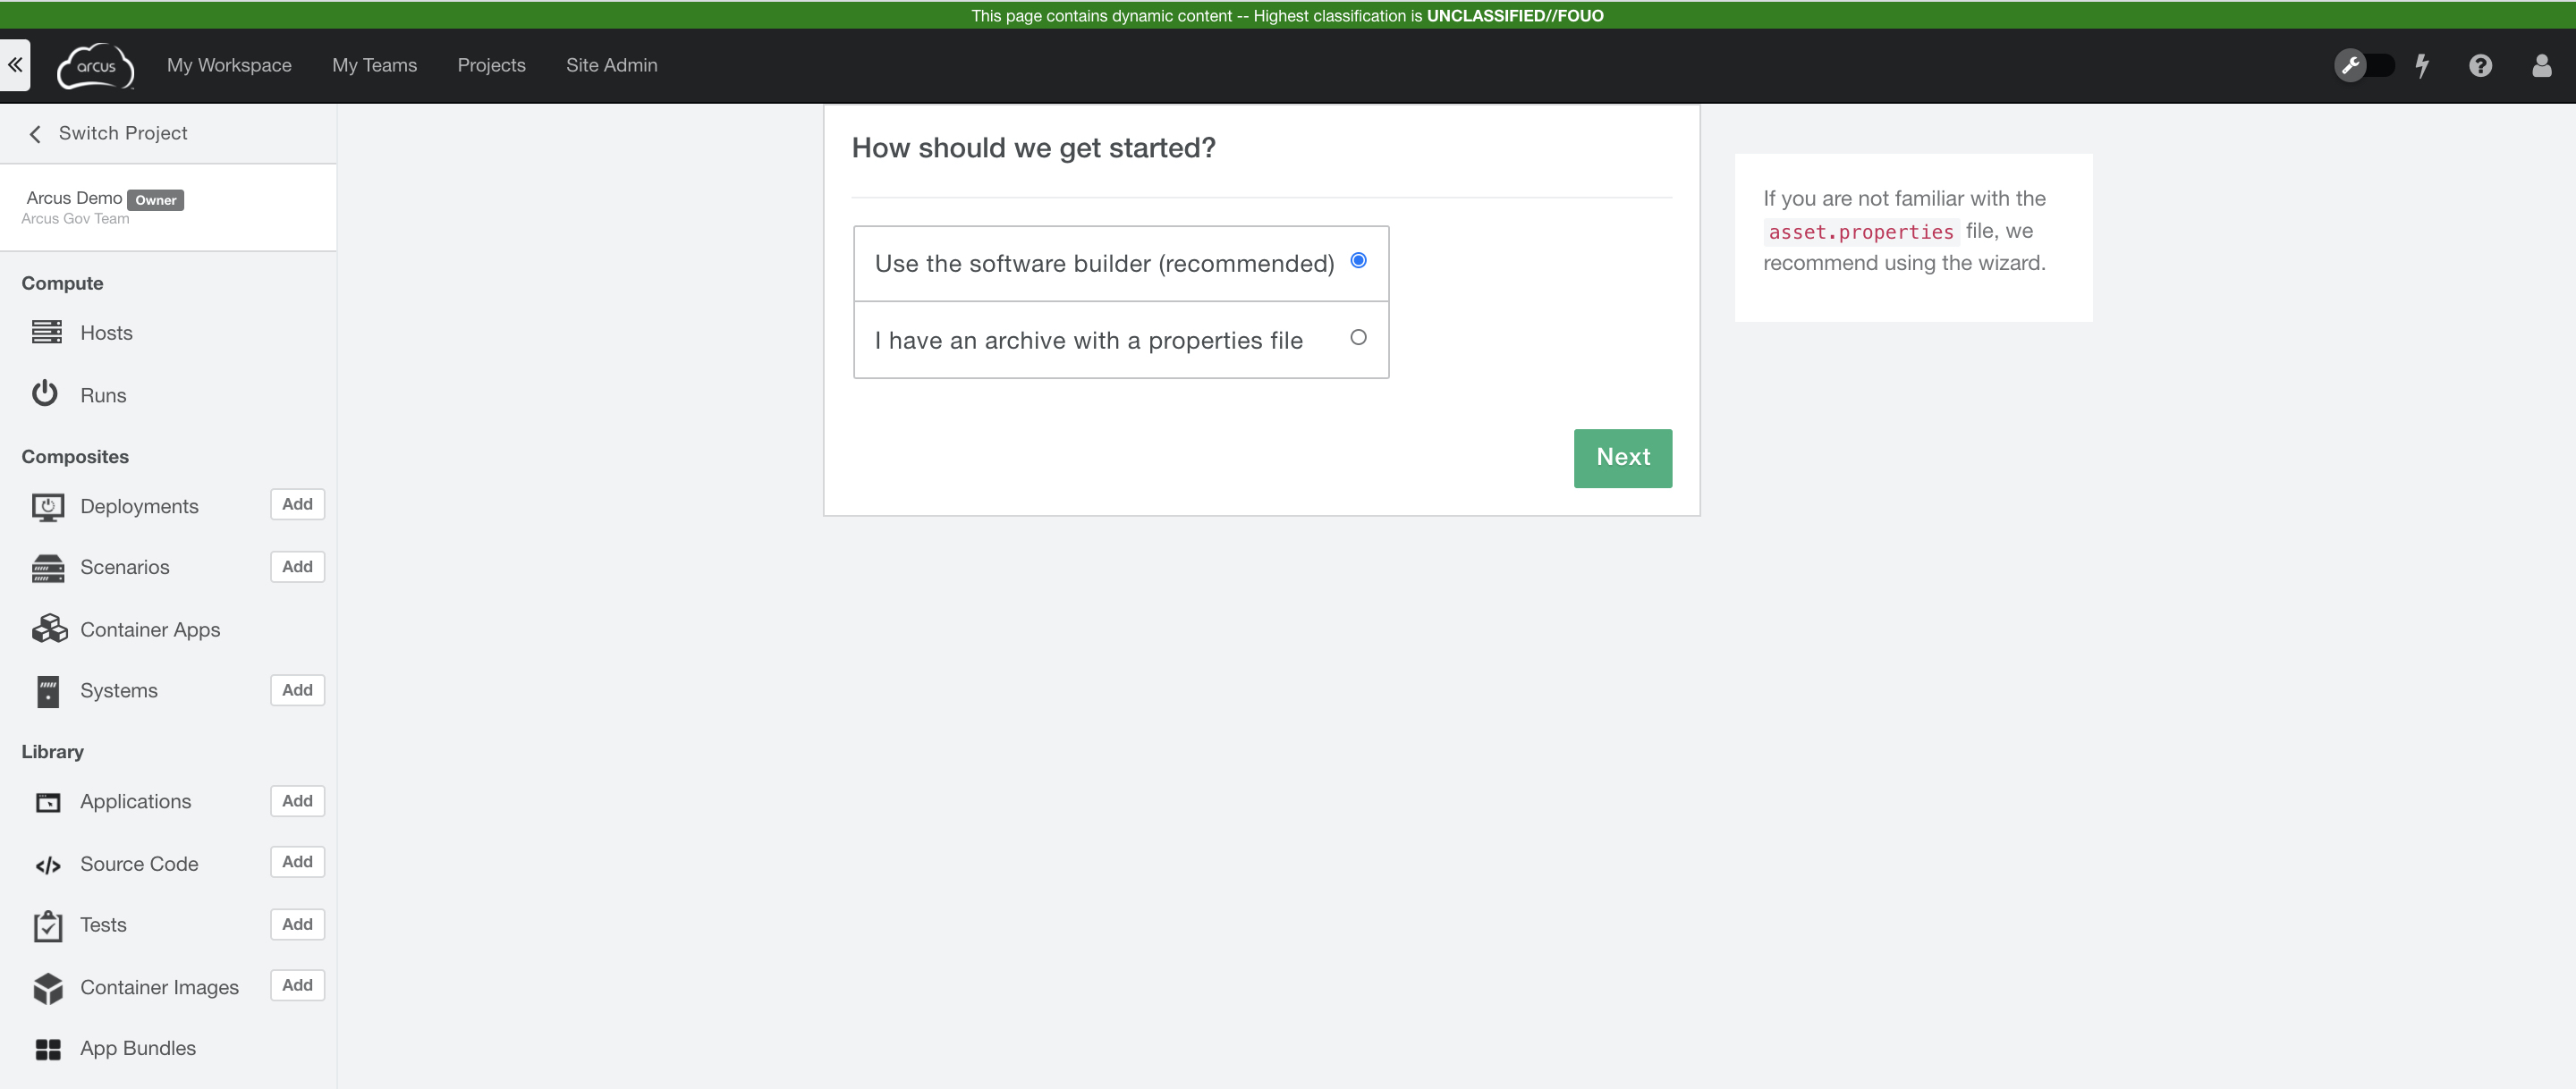
How should we get started?
At this stage you can choose whether to import your own archive zip file (option 1) or to use the Software Builder to create your own package in the GUI (option 2).
- If you have an asset zip file to import, click on the I have an archive with a properties file option, click “Next”, and upload your asset zip file
- Otherwise, select the Use the software builder option, and click “Next”
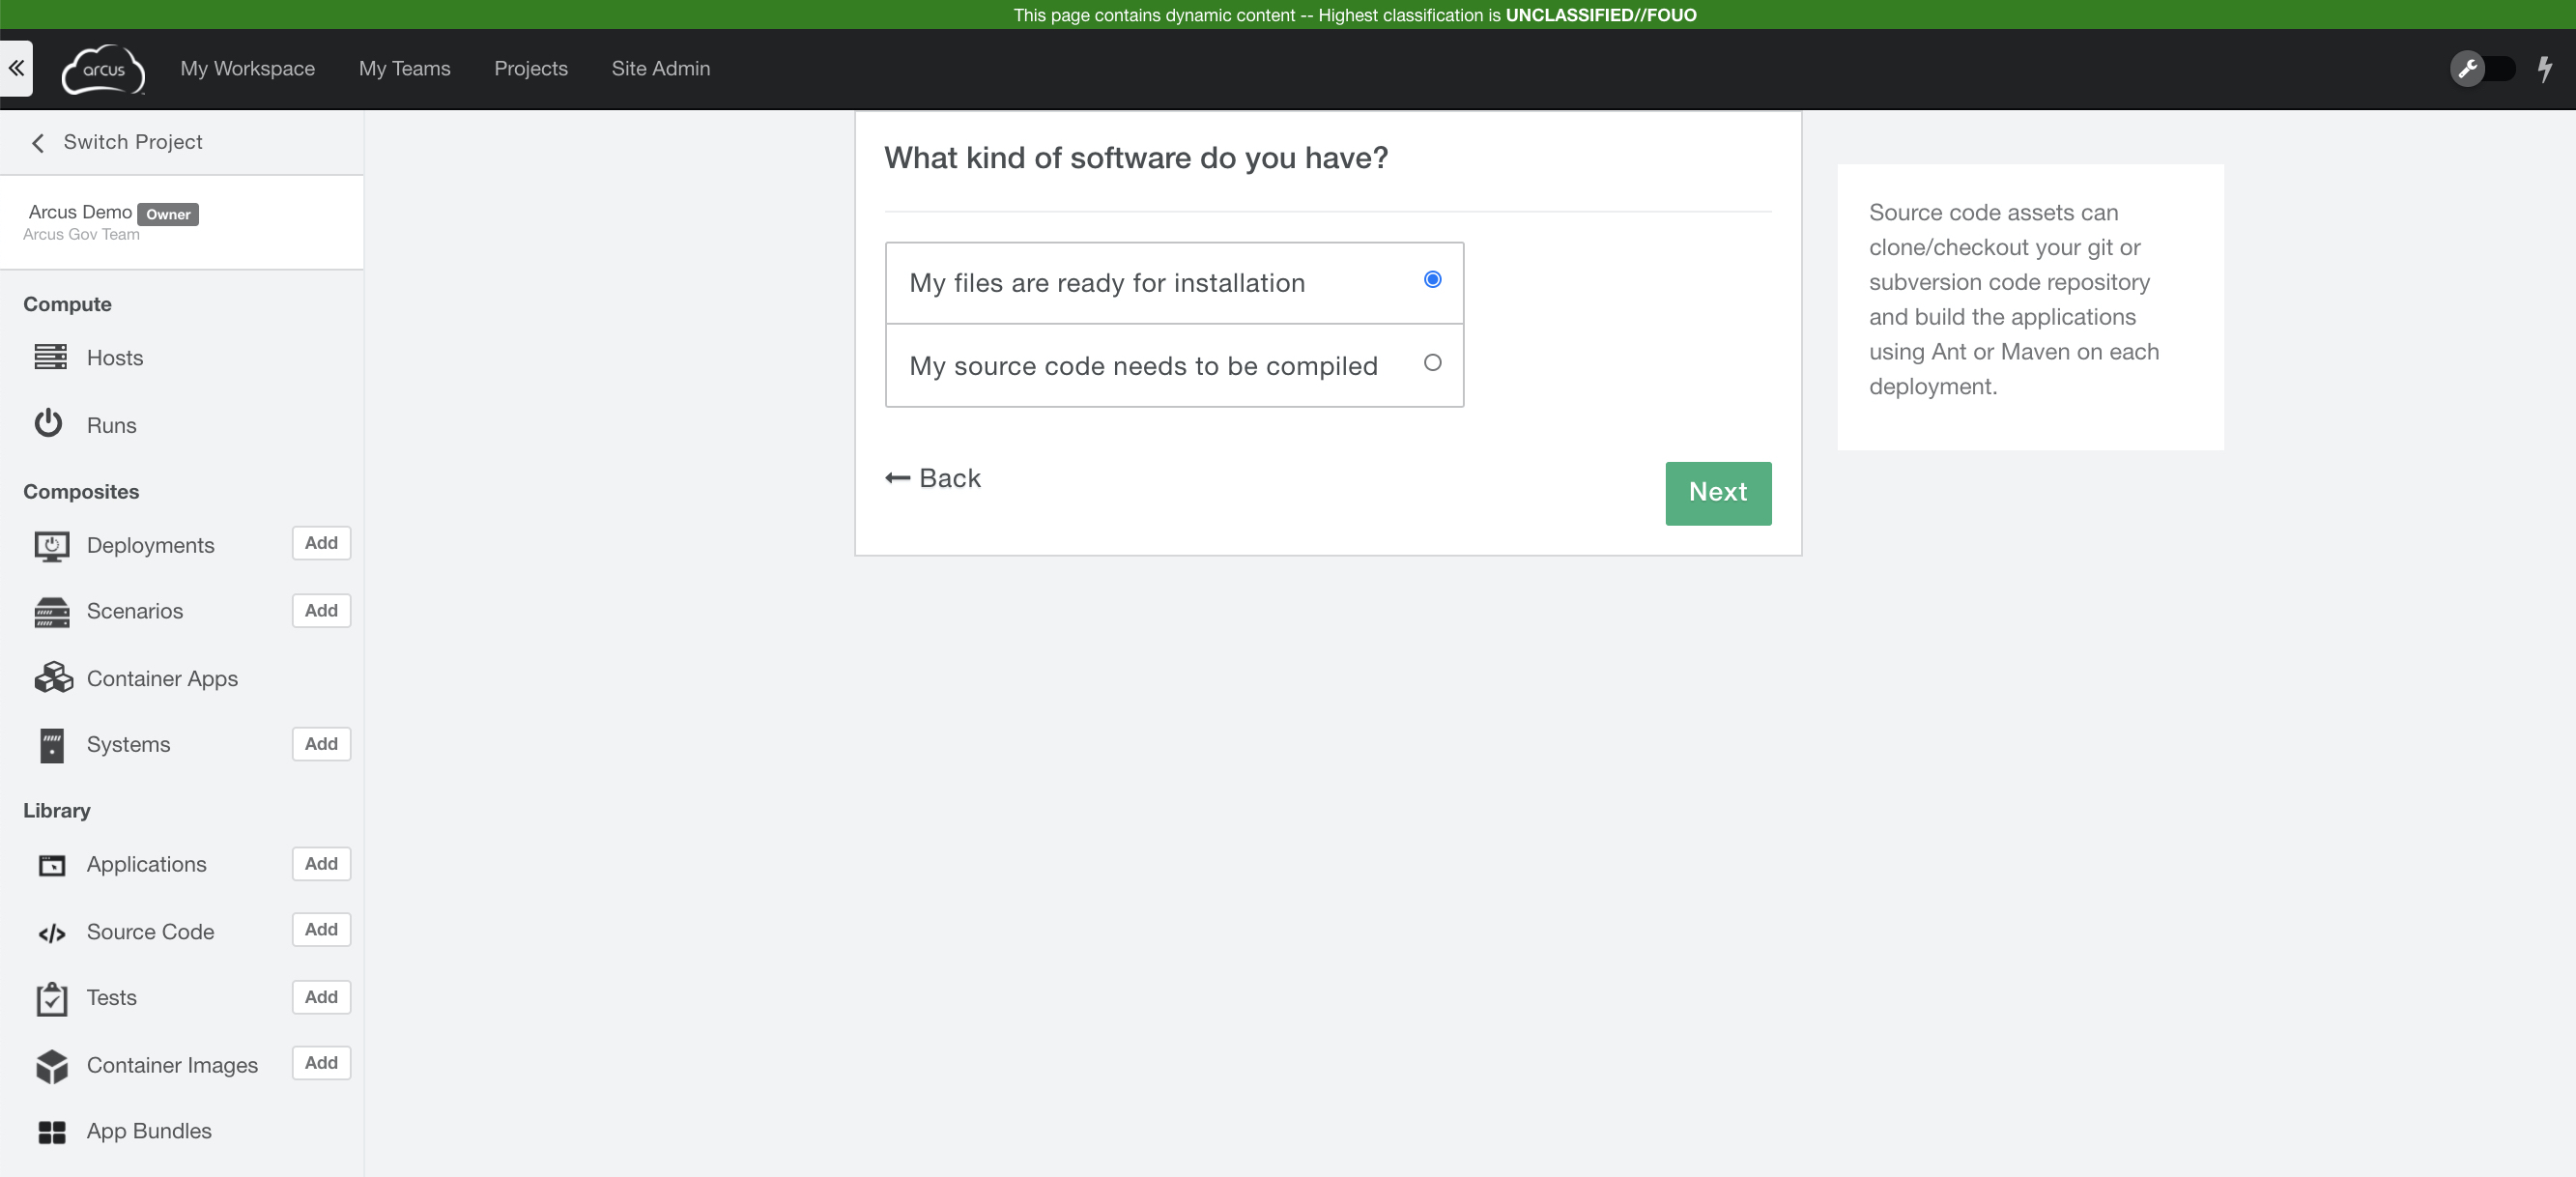
What kind of software do you have?
At this stage you can choose whether your files are ready for installation (option 1) or if source code needs to be compiled (option 2).
- If you need to build source code in your asset, select “My source code needs to be compiled” and click “Next”
- If your install script is ready to go, select “My files are ready for installation” and click “Next”
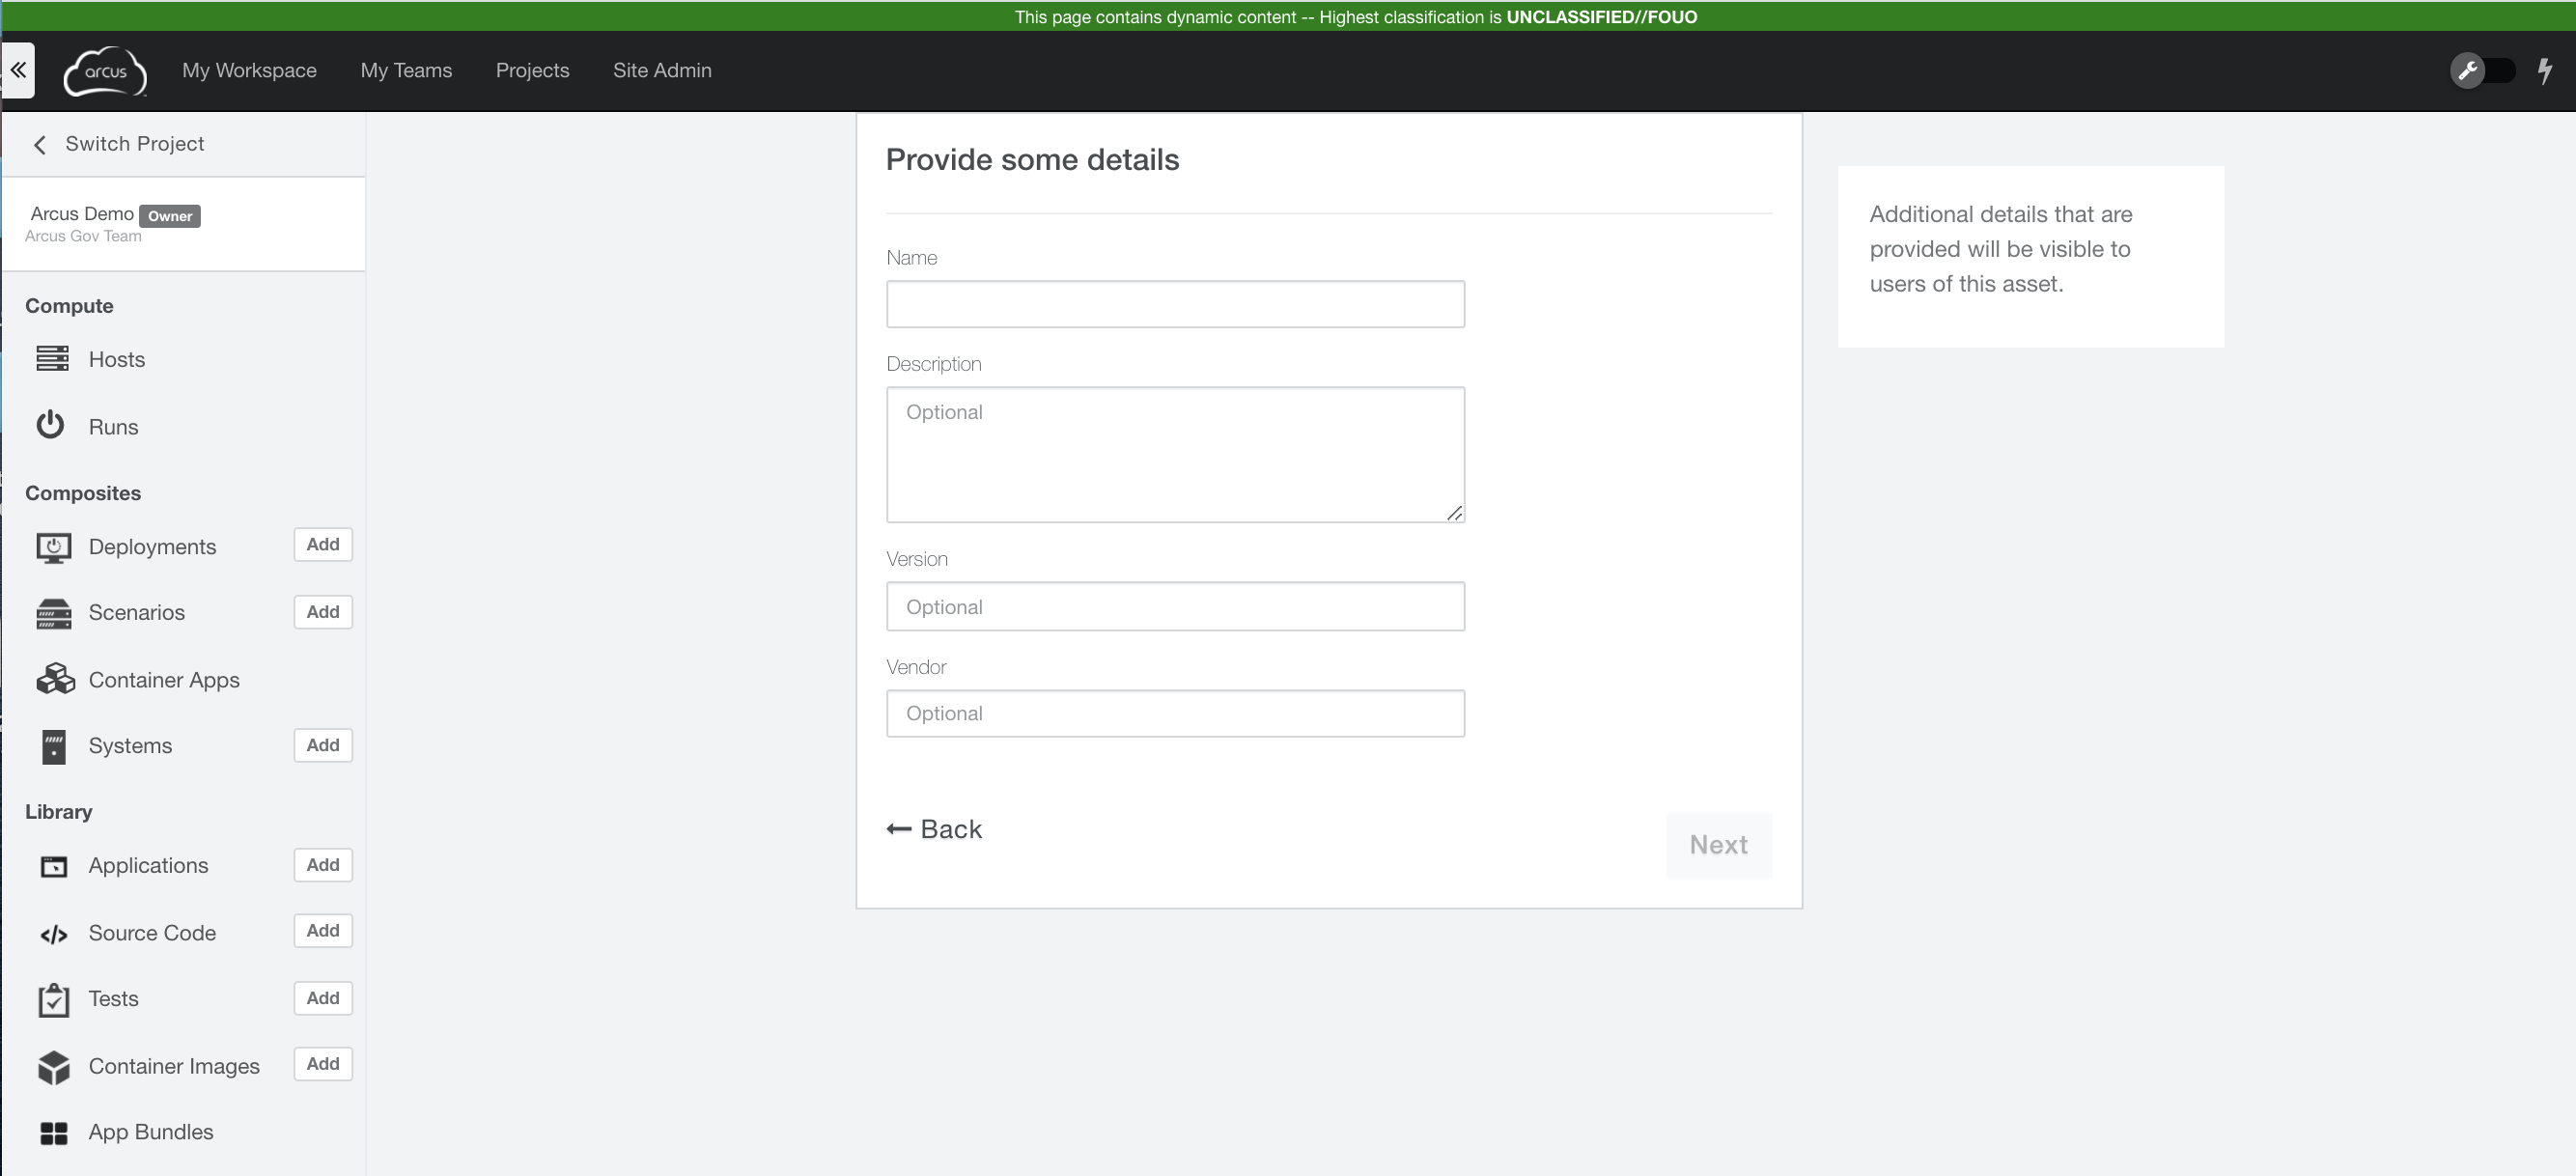
Provide some details
At this stage, provide additional details that will be included in the software package.
- The only required step here is to provide a name for your asset. The description, version and vendor fields are all optional information that can be added as desired.
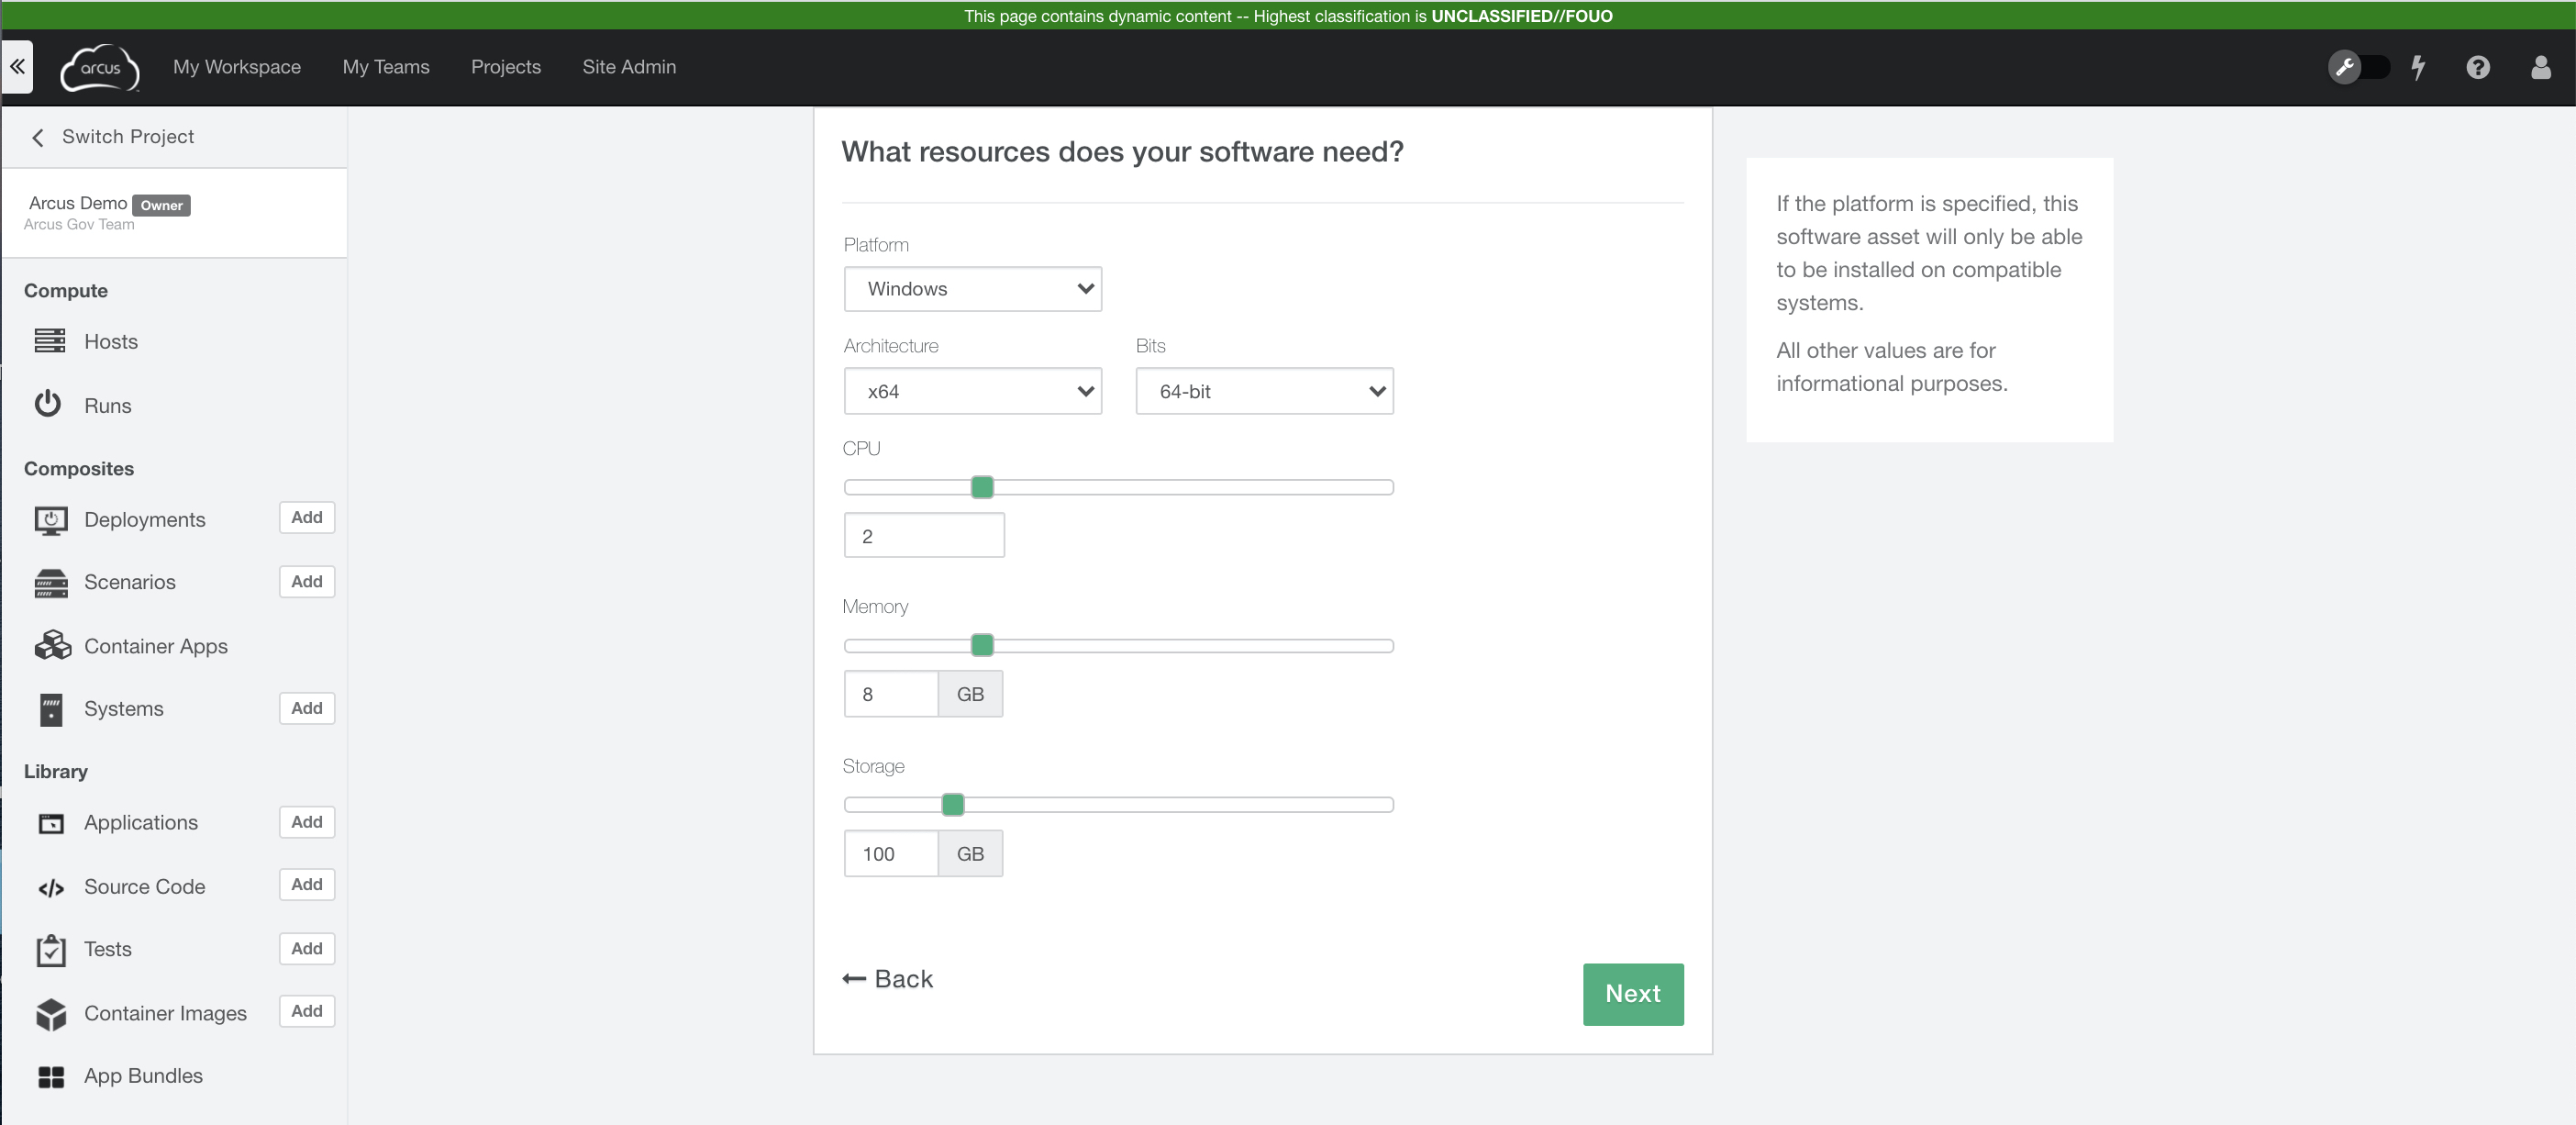
What resources does your software need?
At this stage, you are asked to provide information on the OS type for your software, and any baseline information that will be helpful to users adding your software to their VMs and builds.
- Select the target Platform (Linux, Windows, Solaris, or OSX). Note, the platform is optional but is enforced when adding an asset to a system.
- Add any other settings as desired, but note that these are treated as reccomendations, and are not currently enforced.
- Click “Next”
Platform enforcement is useful to prevent end-users of your software from accidentally installing linux-based software on a Windows system, and vice versa.
Asset Content
- Drag and drop your primary asset script to the scripts section. This will be the install script that Arcus runs on your system. It may call other scripts within the asset, or download additional executables. If you are creating a source code asset, also add your checkout, build, and deploy scripts at this step.
- At the same screen, also add install media up to 4 GB. You can choose to either upload a single file, or add URL to automatically fetch remote content. The remote URL must be the location of the remote file, not a redirect or require some sort of approval selection. Note you can only include one file, and it will end up in the media directory of your asset. If you need to include more than one file in your asset media, we recommend creating a zip file. If you would like you have multiple files in your media directory, click back and use the “I have an archive with a properties file” option.
- Click “Finish”
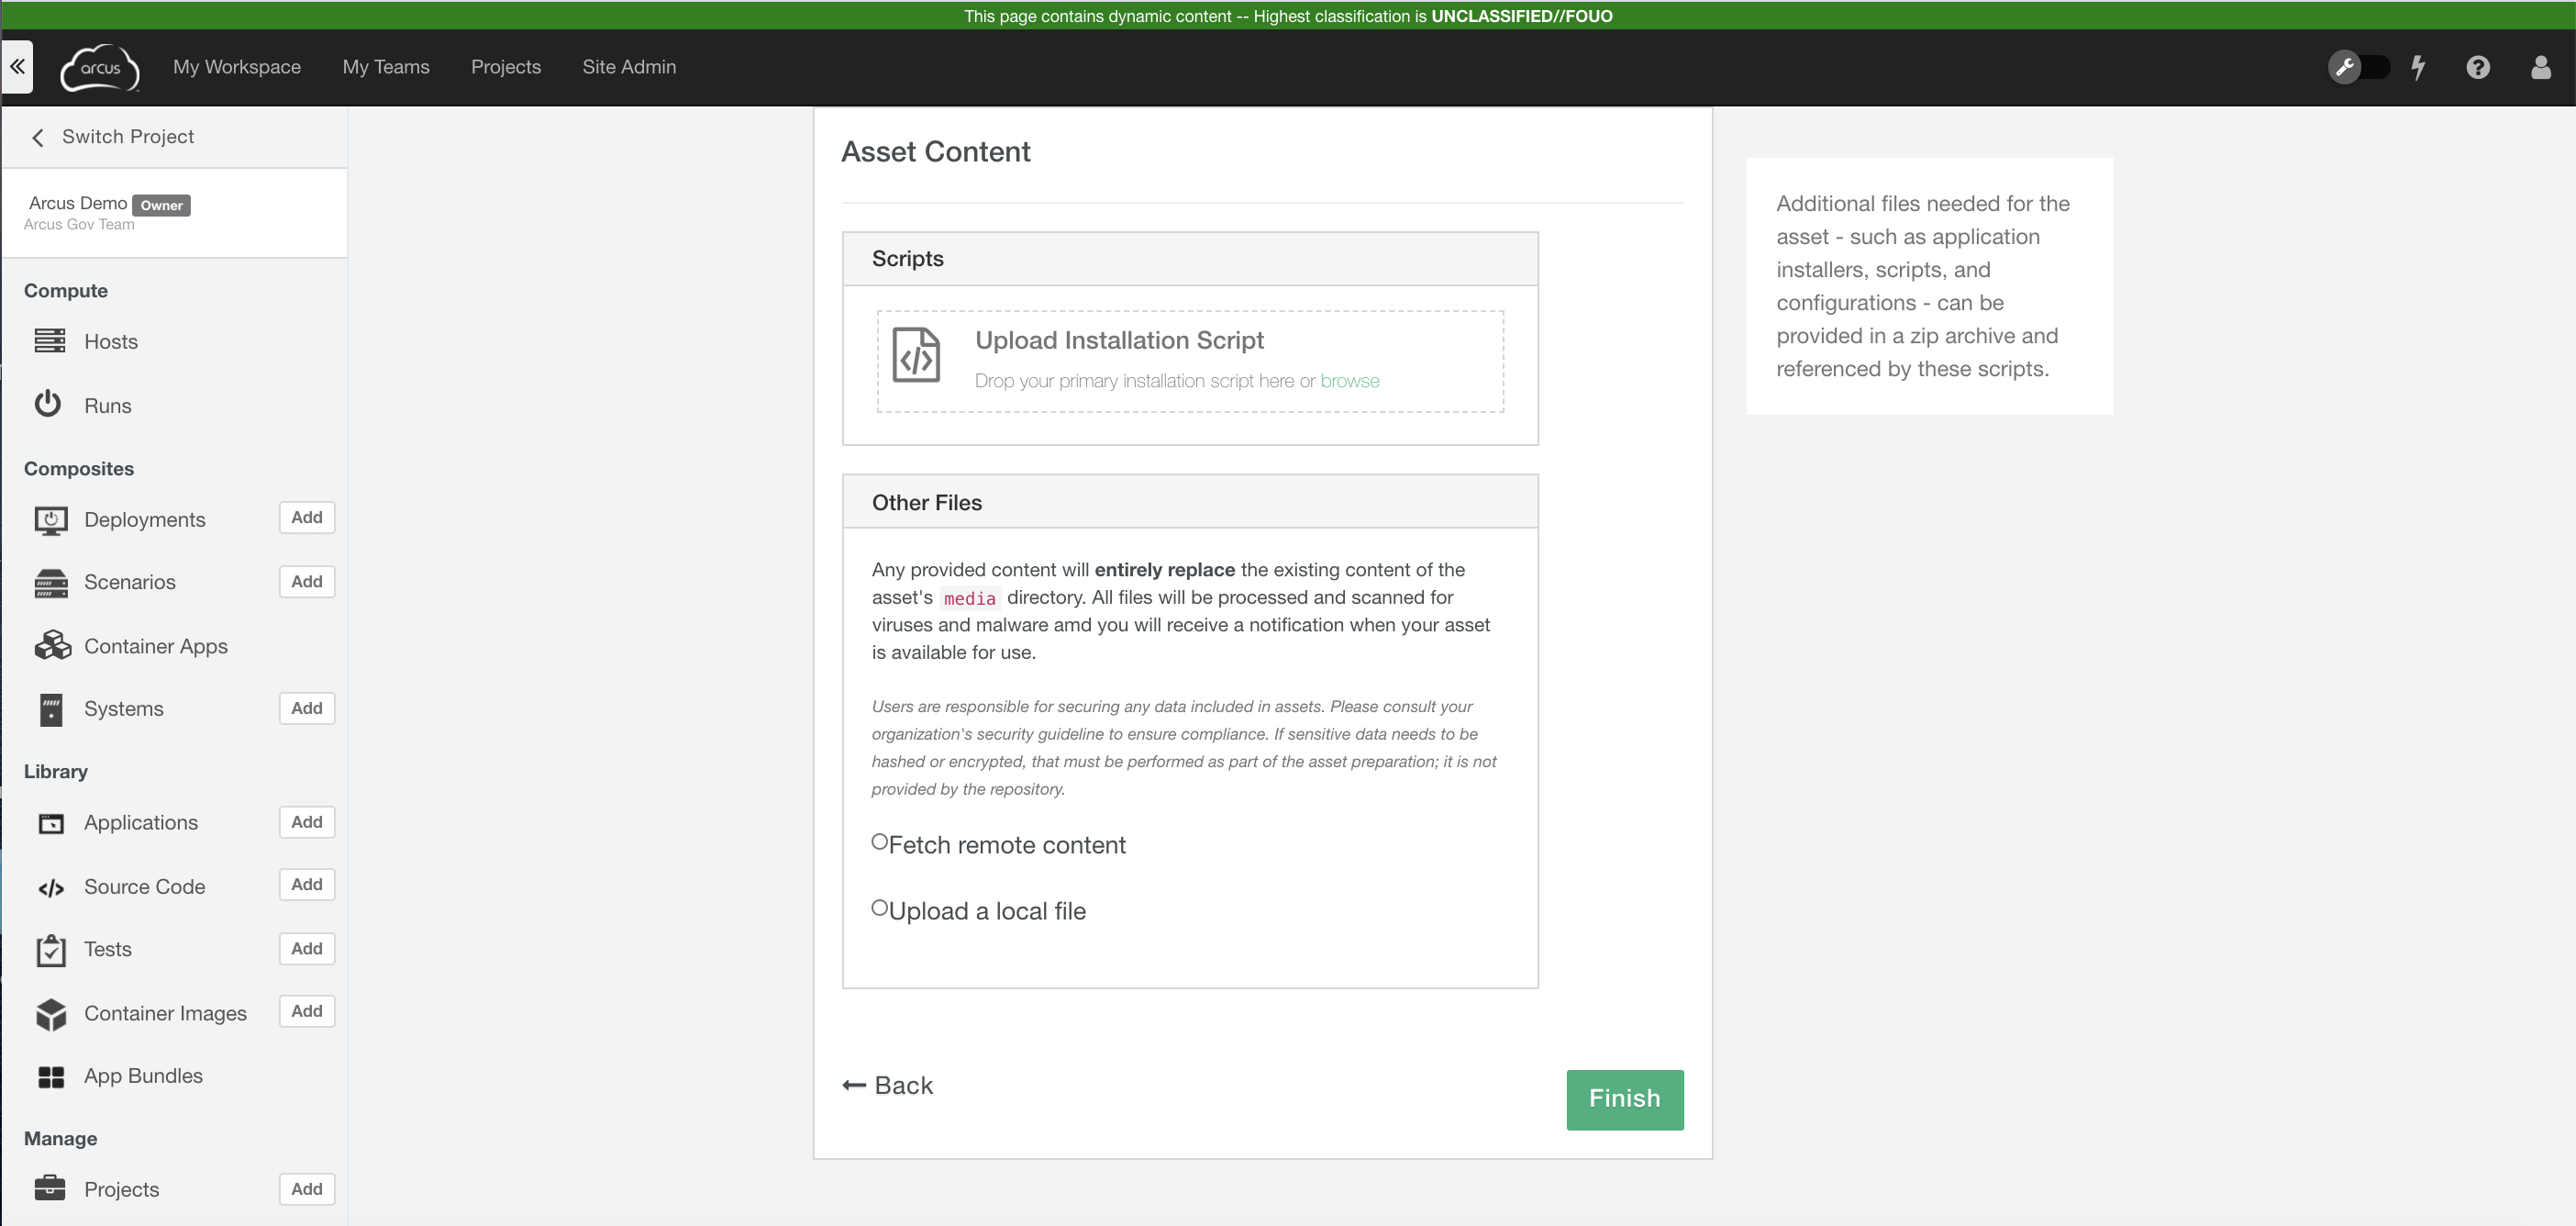
If uploading a local file, it is recommended that the user doesn’t navigate away from the Asset Content page before the file has finished uploading. If you navigate away from the page and the status bar has frozen, you may have to restart your file upload.
Other Notes
- The maximum size for the asset’s primary installation script, license file, and documentation file is about 4 MB
- You will receive an email notification from Arcus when your new software asset has finished uploading, and is ready for use.
- You will find your new asset located under Applications on the main menu.
Please enter a support ticket if you need to import an asset larger than 4 GB.
More Help
Review this topic with our video tutorials: